For the pass 6-weeks, I was lucky to have helped a good friend build his LS460 from scratch. Here is the story told by the owner, Synergy:
Project SynergyThe vision and how it all came together in six weeks by a very dedicated group of sleep-deprived car enthusiasts.
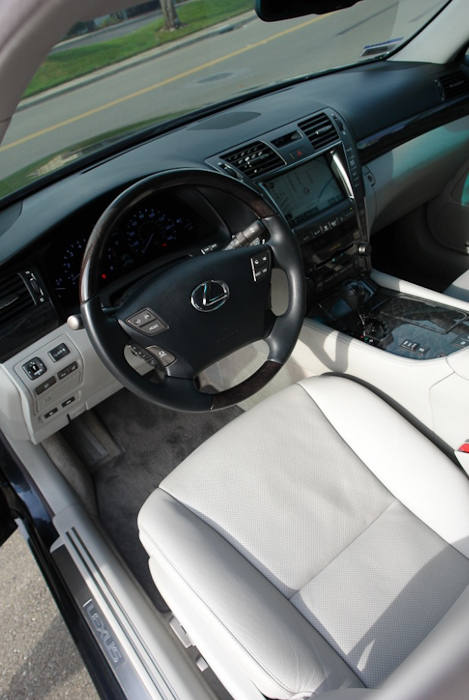
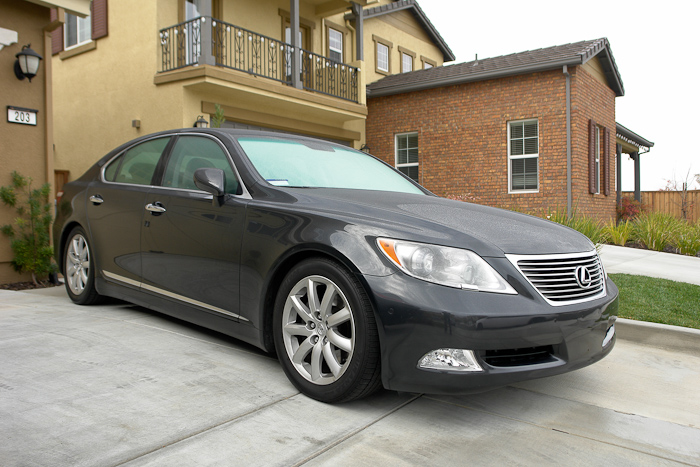
Finding the Right LS460After owning a Lexus GS400 a few years ago and then dabbling with the BMW 745i and new Cadillac CTS 3.6 I realized that the Lexus flagship was the ideal commuter luxury-liner for me. I searched for over two months trying to find a slightly used LS at a good price because I knew that I was going to drop some $$ on mods because let’s face it, I’m addicted to modding cars. Many of you know what I have done to some of my previous rides and recently with my Porsche 997S which is pretty much a completed project at this point. So, I set my sights for a 2008 SWB Smokey Grey Mica, Grey Interior with Blackwood interior accents and ML audio package.
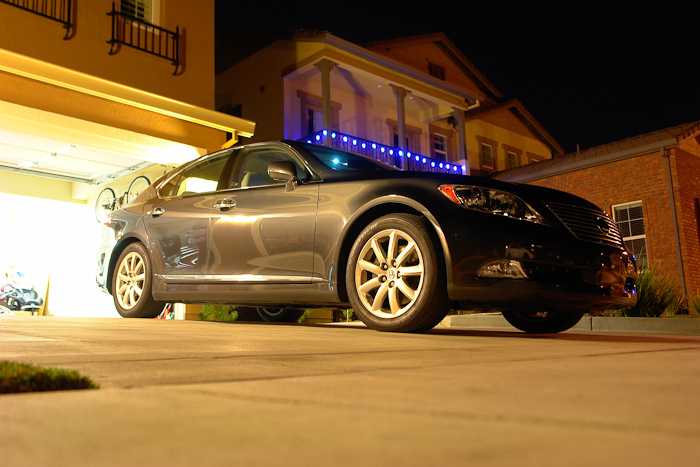
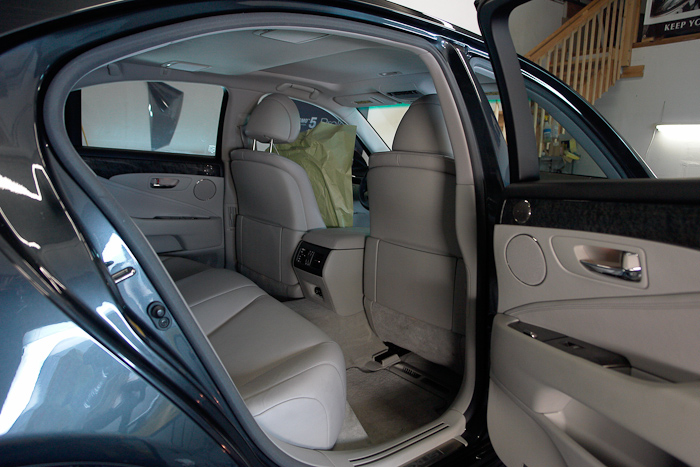
After scouring the internet daily (sometimes 5+ times each day) for a couple of months (it became an obsession), I finally located a car in Los Angeles when it popped up on AutoTrader. I was looking at another similar optioned LS but it was in Houston Texas, and even though I am all for road trips I wanted to find something in California. The car had 18K miles, wasn’t certified but I drove-it and took a leap of faith and ended up driving home to the Bay Area just a few hours later. I knew after a couple of hours that I was going to really enjoy this car. It was a very solid, responsive and spacious car which is plenty big for a family of four!
The build process was an accelerated mission and often felt like a reality show about crazy guys modding cars in record time. All of the individuals involved with this project literally dropped everything (work, paying customers, kids baseball games, dates with supermodels, and much much more) to get this bad-boy built. It was quite inspirational and we all were very motivated on completing the project on what everyone agreed to be a perfect platform...
 And so the Story Begins…The Vision Began with the Body
Fellow local Lexus obsessed freak and close friend Solomon Lee and I discussed the LS project in depth well before I pulled the trigger. We literally reviewed every possible tasteful LS mod option and company that offered parts for the 07 - 10 LS. Taken from a page in ROMINL’s book (who I have a ton of respect for), I had to do something legit and authentic and surely needed to make a statement when cruising down the freeway.
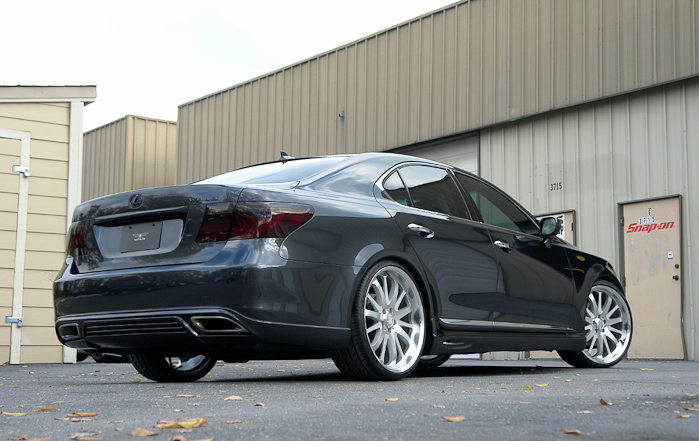
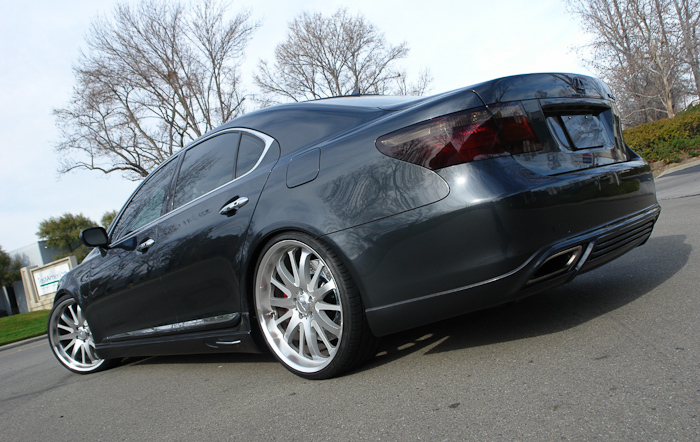
We started the vision beginning with the body kit and narrowed it down to two separate directions: elegant and classy (WALD) and sporty with aggressive flair (JOB Design ). WALD prevailed for the clean lines, OEM factory look and premium quality and fitment. At first sight of reviewing the WALD ABS plastic pieces directly from the well-packaged boxes I knew that I made the right decision.
Zero Finger GapCall me and designer Solomon Lee crazy (which many people have during this build process) but we actually picked up the JIC Magic VIP FLT-TAR coil-overs a couple weeks before I even located the LS! This is all thanks to the fancy footwork of Clark @ VIP AutoSalon and a CL forum member who was selling a slightly used set with only a few miles on them. Darwin and the boys at Sonic Motorsports had the car dropped within a few days of buying the car. As many Norcal CL members know my position on lowered cars – there is no such thing as too low…and frankly I cannot drive a stock-high car. It actually makes me nauseated being so high.
 The Mod-ing Begins with WALD
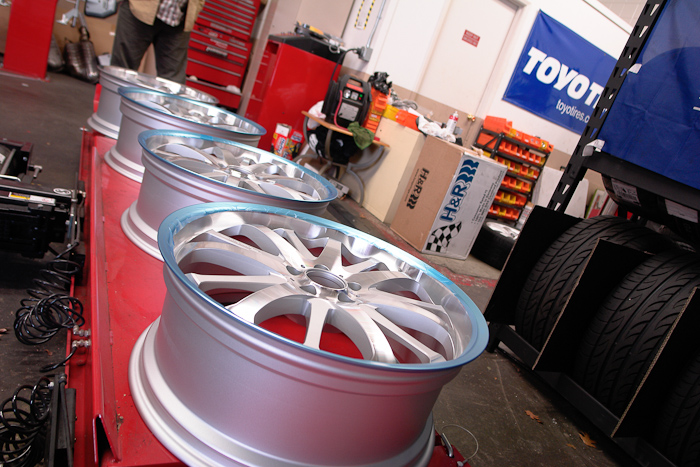
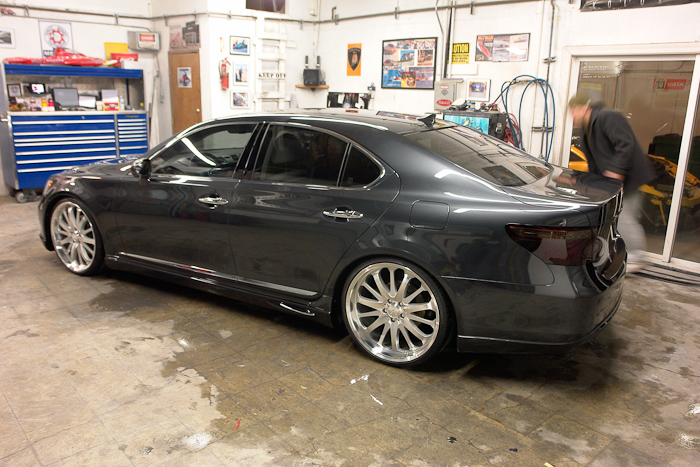
Then the real fun began…we went crazy with WALD and I think after all the damage was done and the dust was settled we were debating on if I should just get a WALD tattoo while I was at it. Since we started this adventure with the body kit the rest of the WALD pieces fell into place and six weeks after we decided on the wheels, I can’t stop staring at them:
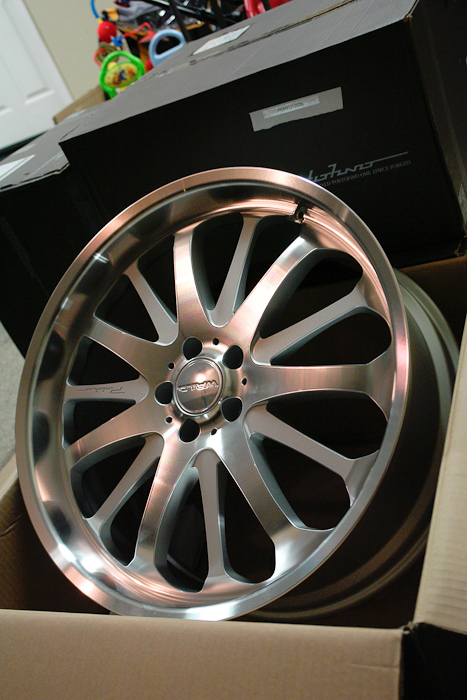
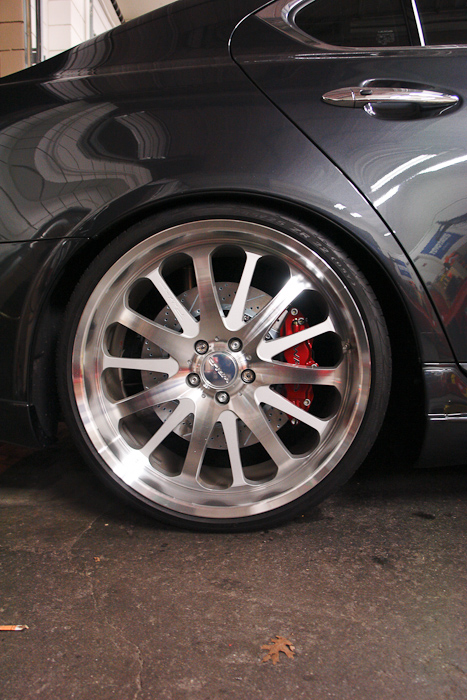
The Portofinos hands down are some of the best looking and crafted wheels that I have ever seen in my 23 years of mod-ing cars and trucks. I was amazed by the perfect fitment and offset of the wheels…we could literally slam the car and drive-it (with people actually sitting in the car smiling) without stressing about rubbing or damaging the fenders….what a concept!
WALD List-O-Mods:• 22" Portofinos 1-piece forged wheels
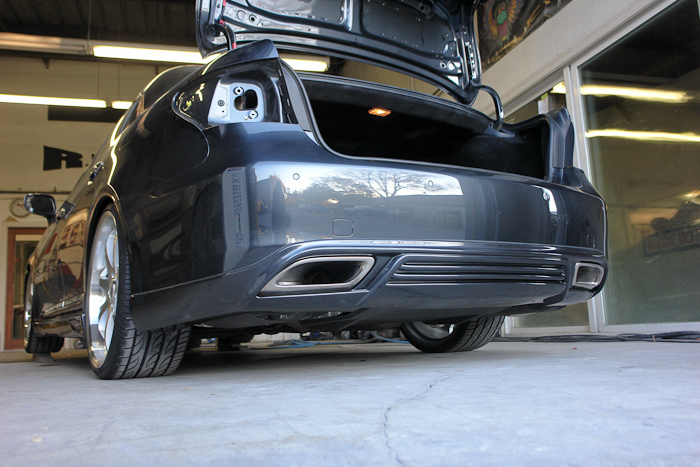
• 3-piece Executive V.1 aero kit in ABS Plastic
• Bumper Duct mesh
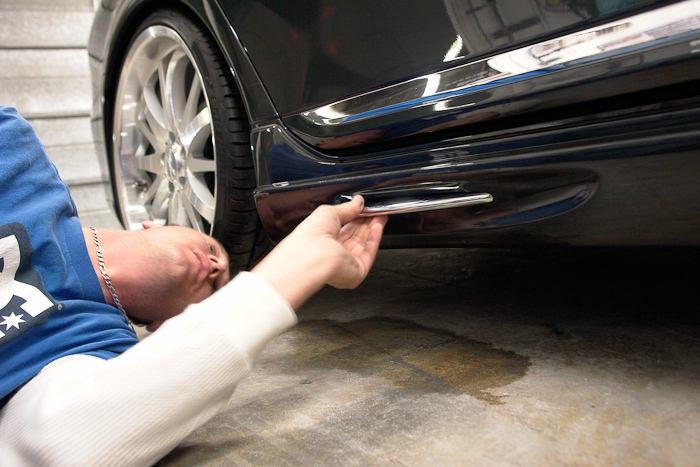
• Chrome Fin Cover for side skirts
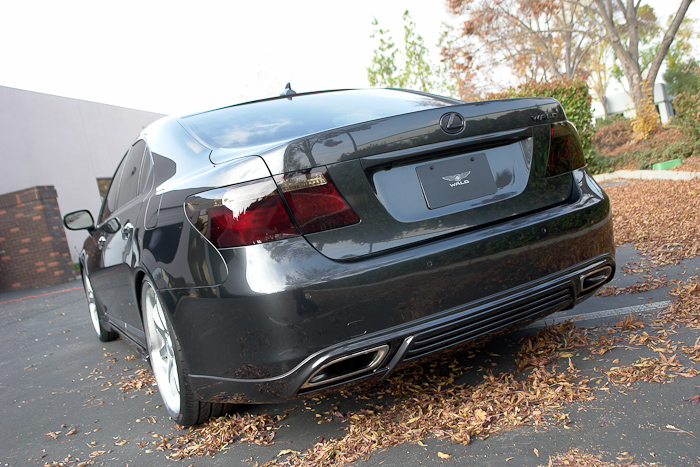
• WALD rear emblem
• WALD license plate (because “real” license plates ruin the aesthetics of the car)
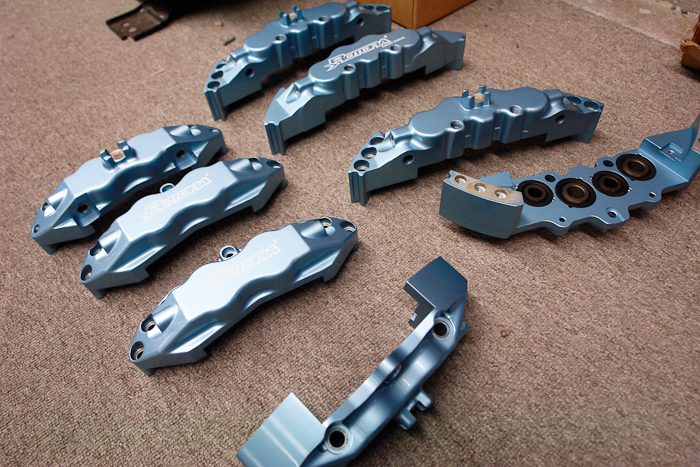
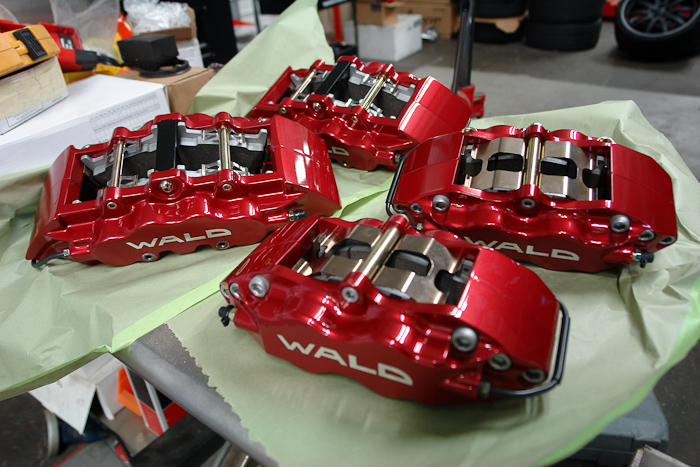
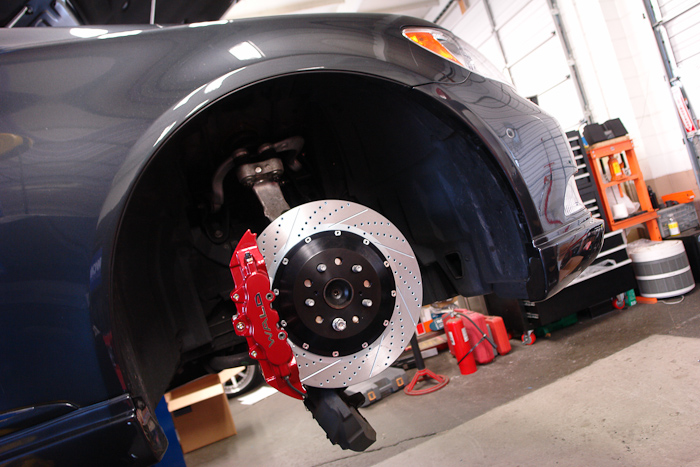
Stopping PowerThe BBK decision and installation was the more stressful part of the entire project. Solo and I went back and forth on what BBK kit to go with from all the major players and both agreed that we wanted big rotors, big calipers and surely wanted upgrades on both front and rear brakes. After measuring the Wald Portofino back-spacing, reviewing stats and lots of debating we went with the Rotora Big Brake kit. Our friends at Sonic had an interesting and entertaining time installing them for sure but it made them stronger and smarter men in the long run. The color was also a fun experience…more on that story in a minute. Our tire choice, well there actually wasn’t much choice (in this size) so Pirelli rubber bands work for me.
• 8-piston front & 4-piston rear
• 15" inch 2-piece rotors front and rear
• Pirelli PZero Nero rubber, 245/30-22 front & 285/25-22 rear
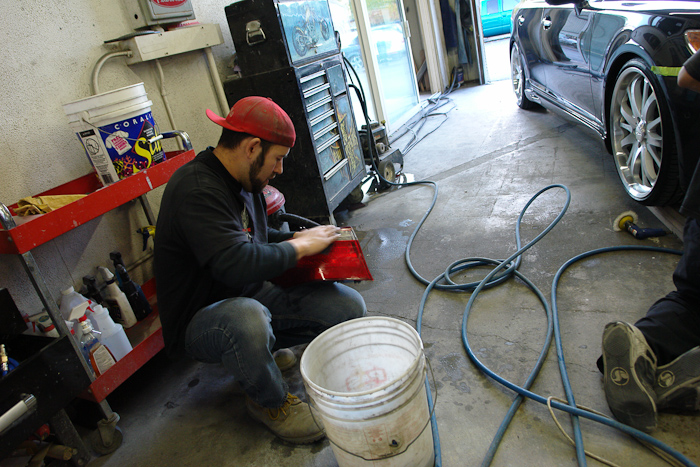
LS Rotoras come only in a baby-blue or a boring red stock color so we danced around many different color ideas. We originally were going with a shade of silver or gray, but the idea of a ruby red came to mind and we all agreed that it would accent the color of the car nicely. Ryan at RJ’s AutoBody had 200 swatches of different reds and after two hours of debating the color was chosen. Ryan was literally flipping out and calling Solo names for picking a 3-stage PPG color similar to candy-apple red realized that this color would be stunning on this car.
Disassembly begins; all went smooth except one bolt from bracket to caliper was stuck - the process to take out the bolt actually striped the thread on the bracket and the bolt itself….ouch! Luckily, Ryan has a great team and a solution was to use a heli-coil. The thread was re-tapped and the bolt was shaved 4mm. It worked like a charm and the brake-in process began. I must say one of my favorite things about this project is the wheel and BBK combo…..a perfect luxurious combination.
See or be SeenI also have a bit of a light bulb obsession and in all previous cars I can always recall swapping interior and exterior bulbs to LEDs, HIDs, Angel Eyes, etc. Similar to my 997, I went with the cooler blue hue 8K bulbs in the headlights and then had Darwin @ Sonic install some really cool tiny ballasts with matching 8K bulbs in the front fogs so I could cut through the dark evening commute with vengeance.
• 8000k JDM Garax HID bulbs
• 8000k JDM Optimal HID foglight kit
Labor of LoveSo….here is how the whole build process unfolded:STEP #1: Darwin @ Sonic Motorsports worked his JIC Magic• Required removing rear seats which was not a pretty sight
• Darwin aligned the car on his super-fancy alignment machine that has a computer which could supposedly launch the Space Shuttle
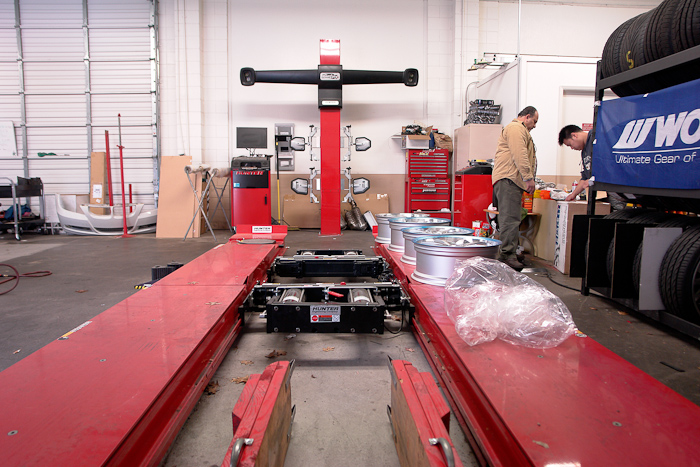
• A few hours later and only a few days old the car it was just the way I like it – slammed…..but still on OEM stock wheels which reminded me of my youth mod-ing street-racing Hondas on stock-ies
 STEP #2: Tires finally arrive after some shipping delays and another trip to Sonic is in order for new shoes
• 22" inch wheels are huge and we thought they were going to be a pain in the BEEP to mount
• BUT Darwin's state-of-art wheel / tire machine(s) handled the job perfectly
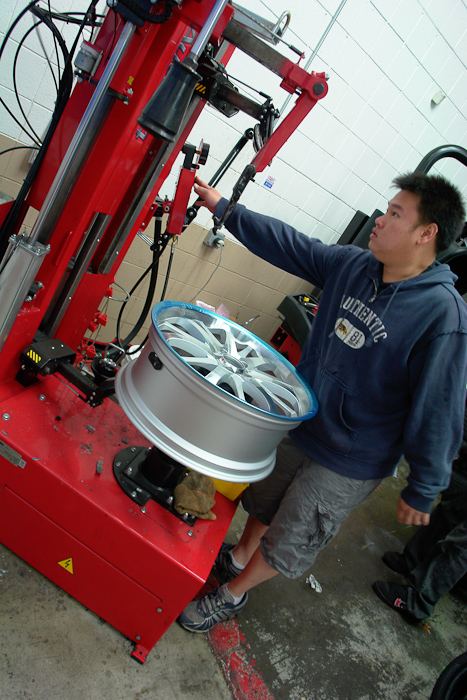
• Theft protection for these wheels were a must so two sets of locking lug nuts added
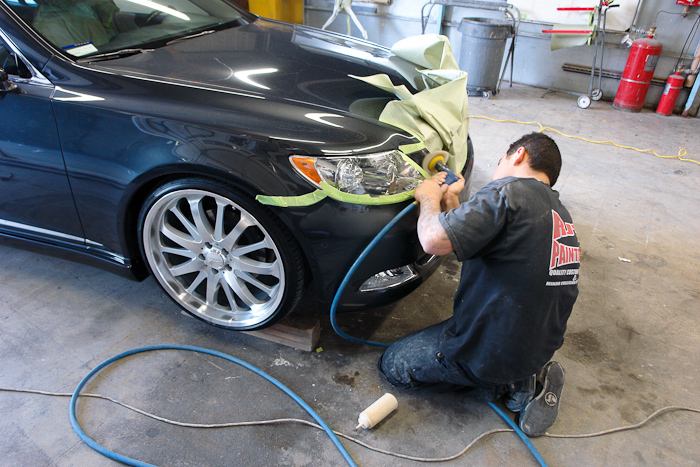
STEP #3: Ryan @ RJ's Autobody in Pleasanton meticulously managed the paint and body work• A couple small dents were noticed on the LS and quickly removed
• The WALD ABS plastic lip kit fitment was spot on and the kit mounted with ease
• Discovered damage to front bumper from previous owner so license plate holes were filled and bumper was re-sprayed and fully repaired
• Smoked taillights inspired by VIP AutoSalon LS460 for that stealth look appearance and to match other accents

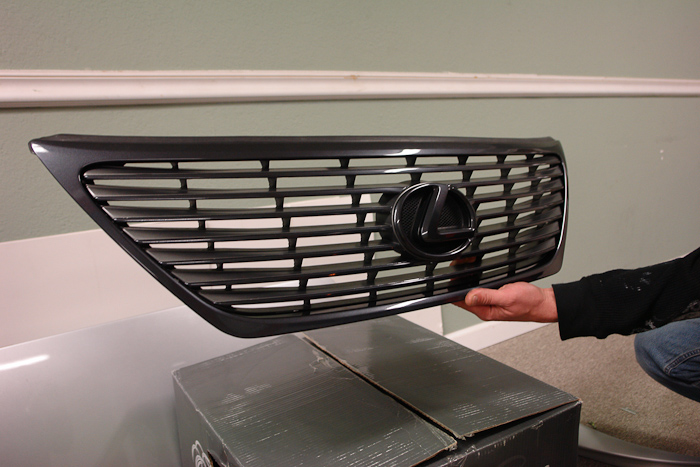
• Painted the emblems, grille, mesh to complete the stealth look

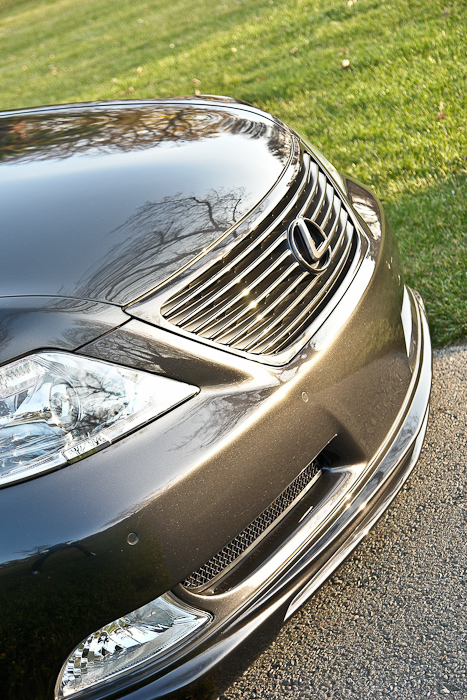

• Left some of the BLING with our vision to incorporate small chrome accents in order to tie in the OEM window housing


• Rotora BBKs painted custom House of Color Candy Ruby Red
 STEP #4: Vincent @ Omega Werks in Pleasanton managed the vinyl and film work
• Tinted all inside windows 30% and windshield 50%


• Custom clear bra wrap on entire bumper, aero kit, hood and other exposed areas (mirrors, etc)
 The Nightmares of this Build ProcessIssue #1: Body paint disaster one day before big photo shoot…
Wednesday, the front bumper was freshly painted. Thursday night, clear bra added. Solo stops by to check progress Friday at lunch and noticed that the new primer didn't cure fast enough and bubbled up under the clear bra. Vincent and Ryan both freak-out and determined paint was still wet when film was applied. Fast thinking Ryan pulls bumper off for prepping and re-sprays the it immediately - bumper stripped, primed, sanded, prepped and ready for first coat of paint that evening and the bumper was painted, baked, polished and installed by midnight Friday.
1am Saturday morning, Project Synergy is finished and we celebrate with a beer or three.

Front Left to Right: Paul, Ryan (RJ), and Vincent
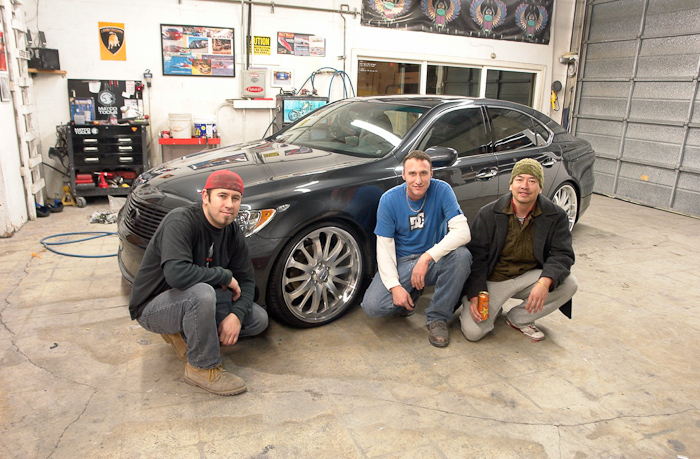
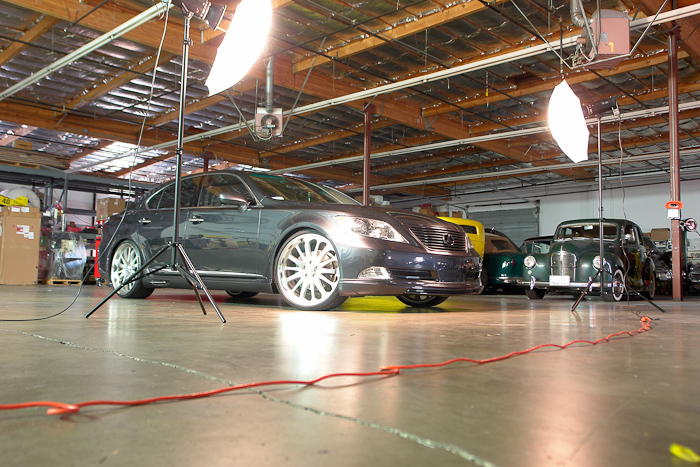
Saturday morning picking up Project Synergy and off to photo shoot locations
 Issue #2: Houston, we have major problems with the brakes from fitment to break-in. Thanks to Darwin @ Sonic who saved the day (and spent the day) troubleshooting…
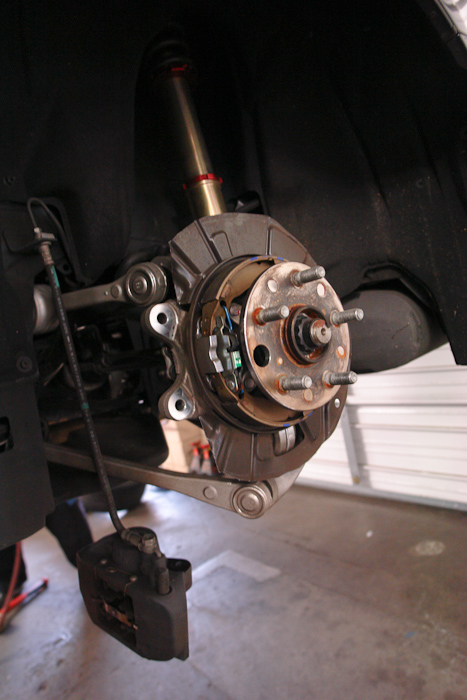

• Rear dustpan had to be cut and modified for 15" inch rotor fitment
• All 4 Rotora brackets did not line up to the Lexus stock holes on the hub
• Lots of metal were shaved to allow for proper fitment
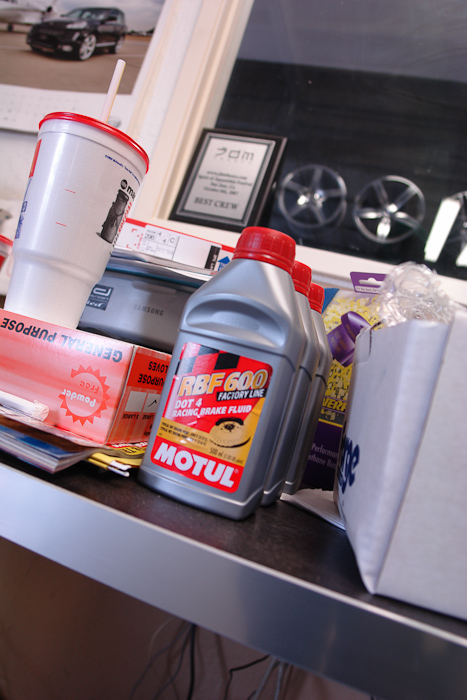
• Old school foot pumping, brake-bleeding process yield no results
• The ABS system recognized a leak and throws into safety mode
• Instead, we had to create a rig to produce pressure directly into the reservoir to work
• Careful not allowing a drop of brake fluid on the fresh painted calipers was a major PAIN IN THE BEEP!
• Brakes bleed but a Christmas tree of error lights pop up on the dash
• Snap-on makes a trick OBDII code reader that took care of the errors – yeee haw!
Crazy BBK break-in process:


• Rotora suggests 60-5 mph break-in to be performed 10 times to shave off the rotor surface
• Finding a location to perform this task in Mountain View was easy, thanks to many wide-open corporate building surroundings
• After an hour of rotor shaving, our loyal designer Solo had a serious case of whiplash. But the brakes were starting to bite much harder
• A total of 10 hours at Sonic MS was needed to install 4 corners of caliper, rotors, brake line, and brake-in…wow, what a project! Thay say no pain no gain!
Completed and DeliveredIn order to ensure we had a zero finger gap (Synergy policy), we ended up dropping the car a bit more at time of delivery .
Thanks for reading through our six week build experience and I have huge amount of gratitude for the builder and man behind the project, Solomon Lee and his network of car-mod-ing rock-stars!
This project has been a great journey working with some of the best companies in the automotive industry. The outcome is a beautiful daily driver with OEM fitment and quality. Just like other builds, Project Synergy will continue to evolve but for now it’s time to enjoy it. Project Synergy will debut officially at Wekfest 2010 in Japan-town, so I hope to see you at the event!


 Photos by Ken @ Spot Nine Studios
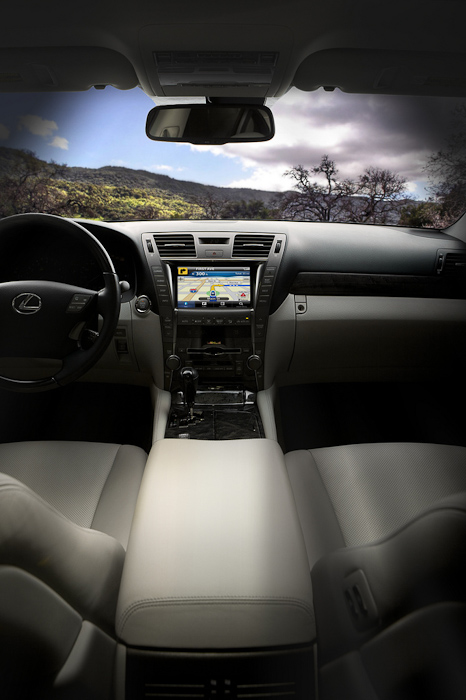
 Photos by Tom @ Fatlace


 Special Thanks To:
- Vincent @
Omega Werks- Ryan @
Rj's Autobody- Darwin @
Sonic MS- Clark @
VIP AutoSalon- Shin @
Airrunner ACC- Loren @
Rotora- My wife Heather for not leaving me for having a new mistress….uh the LS of courseSee you all soon! Thanks for reading!


